Palak Gaur | Ninja
I’m a Software Developer & tech enthusiast with a keen interest in exploring AI tools that enhance lifestyle and personal growth. By blending technology with everyday living, Palak focuses on simplifying tasks, boosting productivity, and fostering self-improvement.
Table of Contents
In today’s visually-driven world, creating professional-looking visuals can be time-consuming and challenging, especially for those without design expertise. Pixelcut is here to change that. It is an AI-powered design tool that simplifies creating visuals for marketing, social media, e-commerce, and more. Whether you’re a business owner, content creator, or someone who needs design support, Pixelcut streamlines the process to deliver stunning results in minutes.
This tutorial will walk you through how to get started with Pixelcut, explore its features, and make the most of this powerful tool for your design needs.
 “Make your photos amazing using AI.”
Beneath this, you’ll find three quick-access buttons:
“Make your photos amazing using AI.”
Beneath this, you’ll find three quick-access buttons:
 Let’s move forward and dive into how you can get started with Pixelcut!


 The AI Backgrounds feature is ideal for anyone looking to elevate their visuals effortlessly. From creating elegant product showcases to vibrant social media posts, this tool brings your ideas to life in just seconds. Whether you’re a professional designer or a casual user, the AI Backgrounds feature makes your images stand out with minimal effort.

 The Image Upscaler is an indispensable tool for anyone looking to elevate their image quality effortlessly. From photographers and graphic designers to e-commerce businesses, it caters to all, ensuring crisp visuals every time.

Step 1: Landing on Pixelcut’s Homepage
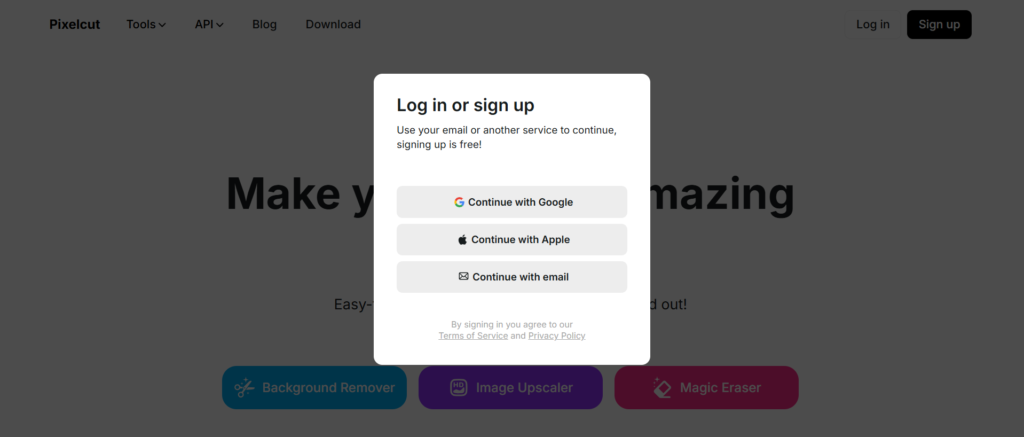
The moment you open Pixelcut.ai, you will land on a clean and visually appealing homepage that sets the tone for the powerful tools Pixelcut offers. The landing page greets you with the tagline:
“Make your photos amazing using AI.”
Beneath this, you’ll find three quick-access buttons:
- Background Remover
- Image Upscaler
- Magic Eraser
- Tools: Access a variety of AI-powered design features.
- API: Explore developer settings.
- Blog: Learn tips and tricks from Pixelcut experts.
- Download: Quickly get the Pixelcut app for your device.
Let’s move forward and dive into how you can get started with Pixelcut!
Step 2: Navigating the Dashboard
When you log in, you’ll land on Pixelcut’s Dashboard, a clean and organized space that serves as your creative hub. The layout is intuitive, providing everything you need for a seamless design experience. Here’s what you’ll find:- Tool Access: At the top, you’ll see key tools such as Remove BG, Magic Eraser, AI Backgrounds, and Upscaler, allowing you to jump into editing instantly.
- Blank Design Options: Below the tools, you’ll notice a variety of blank design formats such as Square, Story, Portrait, Landscape, and Custom Size, giving you the flexibility to start from scratch based on your project needs.
- Templates: A set of ready-to-use profile pic designs that are perfect for creating eye-catching avatars or branding elements. These include a wide variety of templates such as Profile Pics, Product Photos, Film Stories, Summer, Podiums, Social Templates, Holographic designs, and many more. The options are virtually unlimited, ensuring there’s something for every project or creative idea.
- Sidebar Navigation: On the left, the sidebar provides easy access to:
- Home: Return to the main dashboard.
- Projects: View and manage your saved designs effortlessly.
- Cutouts: Access images with backgrounds already removed.
- My Templates: Keep your personalized templates organized for future use.
- Create Team: Collaborate with others by setting up a design team.
- Search Bar: Quickly find templates or tools using the search functionality at the top of the page.
Step 3: Exploring Pixelcut’s Key Features
-
Remove Background (Remove BG)
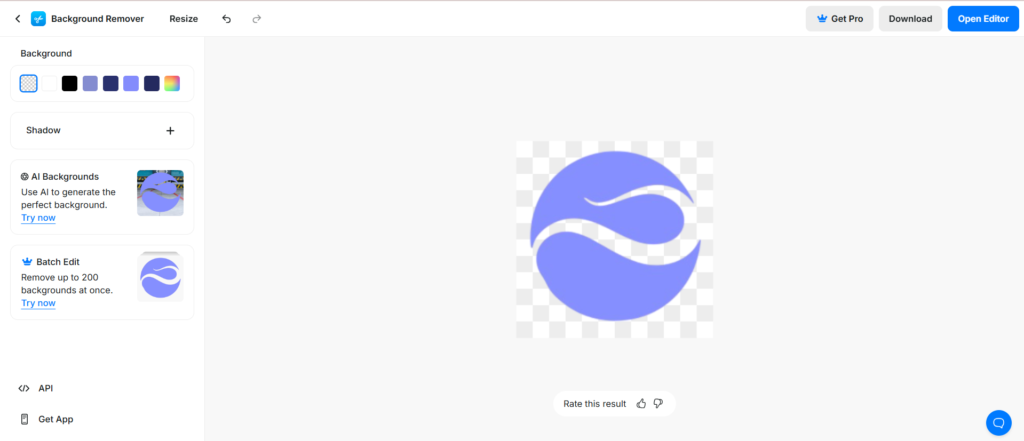
How to Use the Background Remover:
- Upload Your Image: Click the “Upload Image” button on the Background Remover page or drag and drop your file.
- AI Processing: Pixelcut’s AI will automatically detect the subject in your image and remove the background, leaving you with a clean, transparent result.
- Adjust Backgrounds: Once the background is removed, you can customize it further:
- Add solid colors or gradients.
- Use AI Backgrounds to generate stunning new scenes for your image.
- Apply shadows for a more realistic look.
- Batch Editing (Pro Feature): For users needing to process multiple images, Pixelcut Pro allows you to remove backgrounds in bulk—up to 200 images at once!
- Save Your Design: Click “Download” or “Open Editor” to refine your design further.
-
Magic Eraser
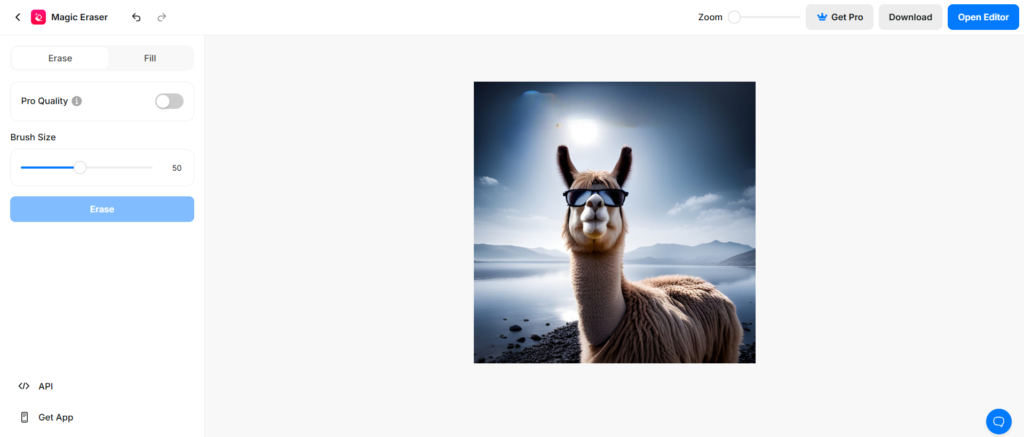
How to Use the Magic Eraser:
- Access the Tool: Navigate to the Magic Eraser option on your dashboard and click on it.
- Upload Your Image: Drag and drop the image you want to edit, or click the "Upload Image" button to select a file from your device.
- Brush Selection:
- Use the Brush Size slider to adjust the eraser tool based on the area you want to remove.
- Highlight the object or area you want to erase using the brush.
- Erase and Preview:
- Click the Erase button to let the AI process your edits.
- The AI will remove the selected object and intelligently fill the space with a seamless background.
- Preview your changes to ensure the result looks natural and professional.
- Optional Enhancements:
- Turn on Pro Quality (available in Pixelcut Pro) for higher precision and better results, especially for complex edits.
- Switch to the Fill option if you need to replace the erased area with a specific color or pattern.
- Save Your Edits:
- Once satisfied with the results, click on Download or Open Editor to refine your design further or export your image.
Why Use the Magic Eraser?
- E-Commerce: Remove distracting elements from product images to create a clean and focused presentation.
- Social Media: Enhance your photos by erasing unwanted objects for a more professional and engaging look.
- Custom Designs: Prepare your visuals for personalized designs or creative edits.
-
AI Backgrounds
How to Use the AI Backgrounds Feature:
- Upload Your Image: Start by clicking the “Upload Image” button on the AI Backgrounds page or drag and drop your file.
- Select a Theme: Choose from a variety of themes and styles such as Marble, Holographic, or Nature, or simply let Pixelcut surprise you with AI-generated scenes that match your image.
- Generate Backgrounds: Click on “Generate Photos,” and Pixelcut will create multiple background options, giving your image a polished and professional appearance.
- Preview and Select: Review the generated options and select the one that best fits your vision. Pixelcut’s AI ensures the backgrounds are seamlessly integrated with your subject.
- Custom Scenes (Pro Feature): For Pixelcut Pro users, the Custom Scene option allows you to fine-tune backgrounds, ensuring they perfectly match your branding or style.
- Save Your Design: Once you’re satisfied, click “Download” or “Open Editor” to make additional adjustments or finalize your design.
The AI Backgrounds feature is ideal for anyone looking to elevate their visuals effortlessly. From creating elegant product showcases to vibrant social media posts, this tool brings your ideas to life in just seconds. Whether you’re a professional designer or a casual user, the AI Backgrounds feature makes your images stand out with minimal effort.
-
Image Upscaler
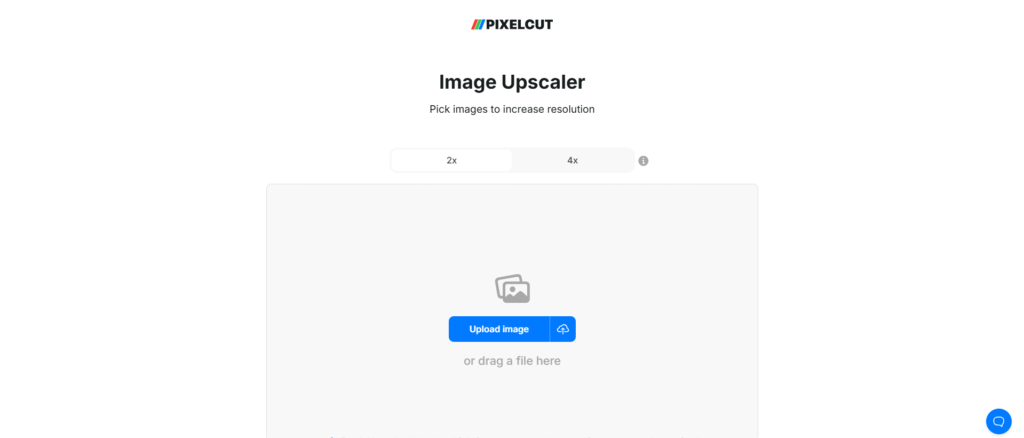
How to Use the Image Upscaler:
- Upload Your Image: Begin by clicking the “Upload Image” button or dragging and dropping your file into the designated area.
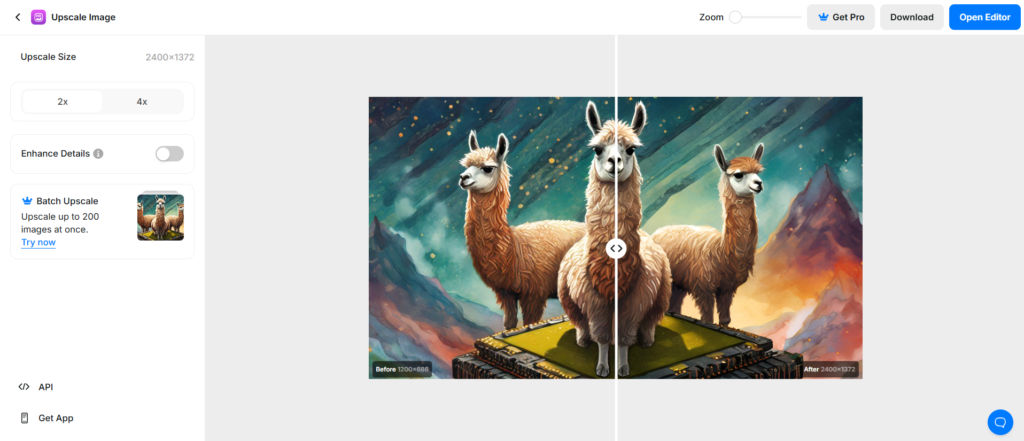
- Choose Upscale Size: Select the level of enhancement you need—either 2x or 4x the original resolution. This feature ensures flexibility in improving image quality based on your specific requirements.
- Enhance Details (Optional): Toggle the “Enhance Details” feature to refine intricate elements within your image. This setting brings out finer textures and details for a polished look.
- Preview and Compare: Pixelcut provides a real-time comparison slider, allowing you to see the difference between the original and upscaled versions side by side. This ensures you’re satisfied with the result before saving.
- Batch Upscale (Pro Feature): For users managing large volumes of images, the Batch Upscale feature (available with Pro) allows you to upscale up to 200 images simultaneously, saving time and effort.
- Download Your Image: Once satisfied with the result, click “Download” to save the enhanced image or choose “Open Editor” for further design refinements.
The Image Upscaler is an indispensable tool for anyone looking to elevate their image quality effortlessly. From photographers and graphic designers to e-commerce businesses, it caters to all, ensuring crisp visuals every time.
Step 4: Exploring the Pro Features Page
Pixelcut offers a seamless upgrade to Pixelcut Pro, designed for users who want to unlock advanced tools and maximize their design capabilities. The Pro Features Page is where you can explore all the additional benefits and decide which subscription plan works best for you.
What Does Pixelcut Pro Include?
- Access to All AI Tools: Enjoy full access to Pixelcut’s suite of AI-powered tools, including advanced features not available in the free version.
- 4K Upscaling: Enhance your designs with ultra-high-definition quality, perfect for professional and e-commerce purposes.
- HD Exports: Export your projects in crystal-clear quality for any platform or use case.
- Batch Edit Multiple Images: Save time by processing multiple images simultaneously, whether it’s removing backgrounds or upscaling resolution.
- Cancel Anytime: Pixelcut Pro ensures flexibility, allowing you to cancel your subscription at any time without commitments.
Subscription Plans
Pixelcut Pro is available in two subscription plans:- Monthly Plan: $9.99 per month, offering full flexibility for short-term needs.
- Yearly Plan: $59.99 annually (equivalent to $4.99 per month), providing a 50% discount for users who prefer a long-term commitment.
How to Upgrade?
- Click on the “Get Pro” button from the dashboard or navigation sidebar.
- Review the benefits and subscription plans on the Pro Features Page.
- Select your preferred plan (monthly or yearly).
- Proceed to payment and unlock Pixelcut Pro immediately.